

About Barber Services
Opening Hours
Monday
08:00 AM – 19:00 PM
Tuesday To Friday
08:00 AM – 17:30 PM
Saturday
08:00 AM – 15:30 PM
Sunday
Closed
About SPA Services
Our Services
What We Are Offering Premium Services
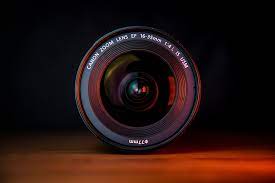
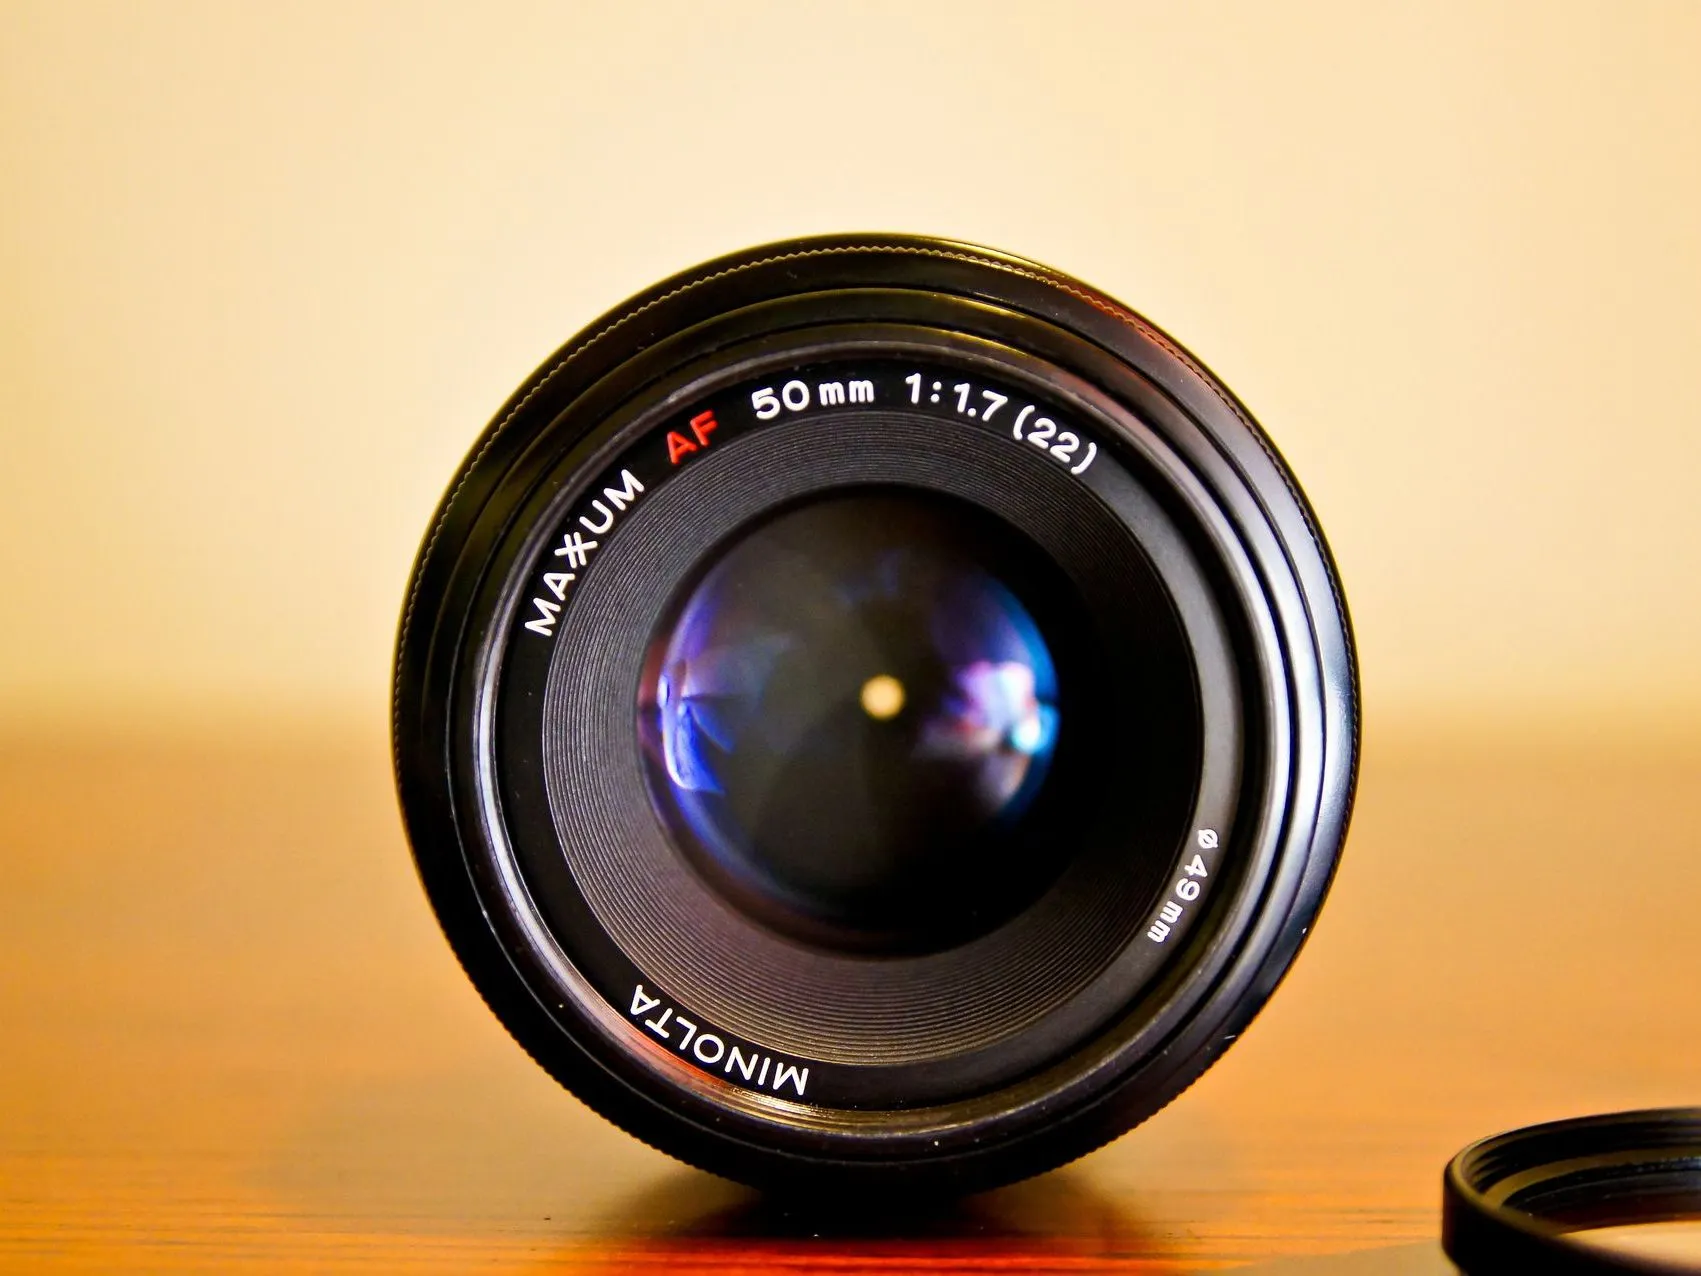
Lenses
“Unleash your creativity with precision and clarity – our cutting-edge lenses skillfully transform fleeting moments into timeless artistic masterpieces
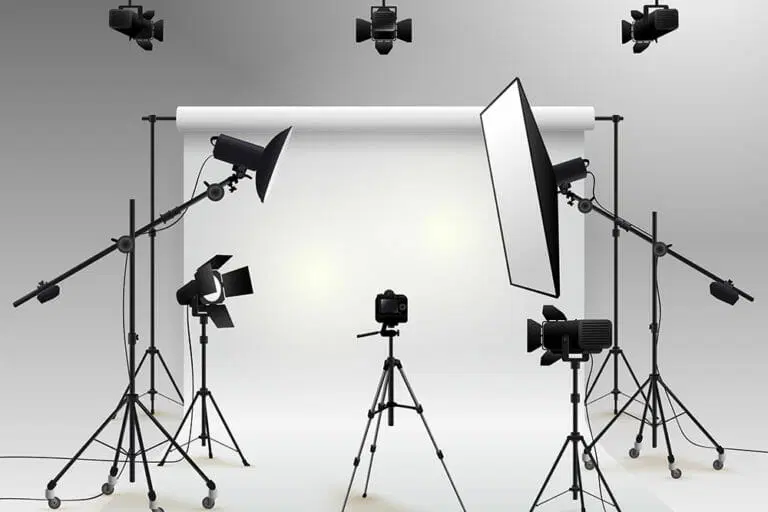
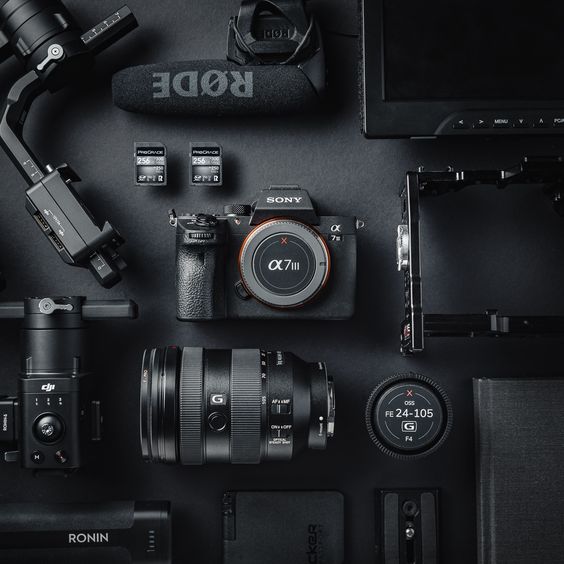
Lightning
“Illuminate your vision with our cutting-edge camera and lighting solutions, capturing every detail in a perfect play of light and shadow.”
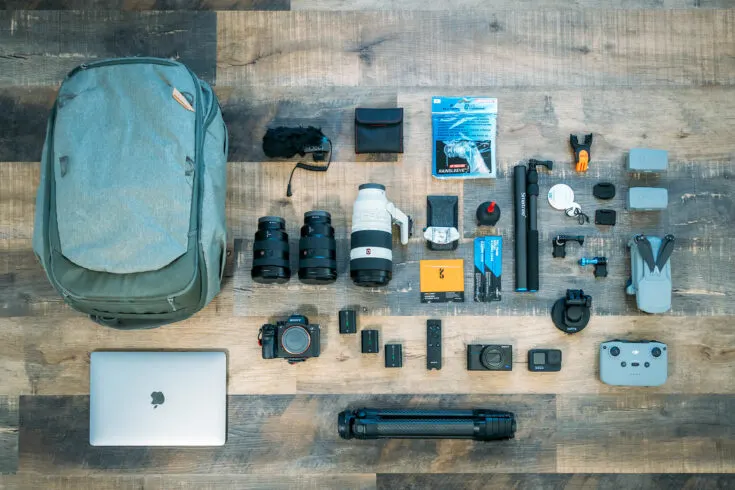
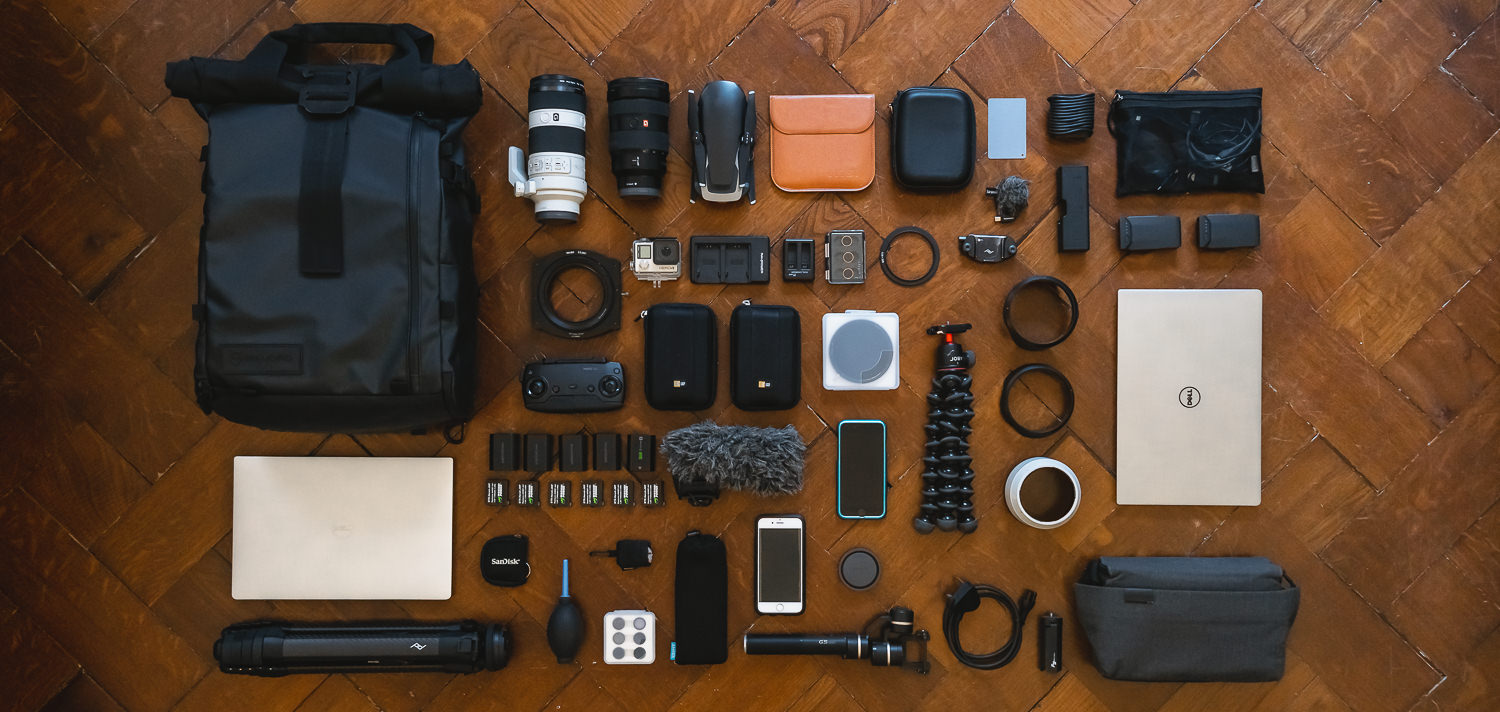
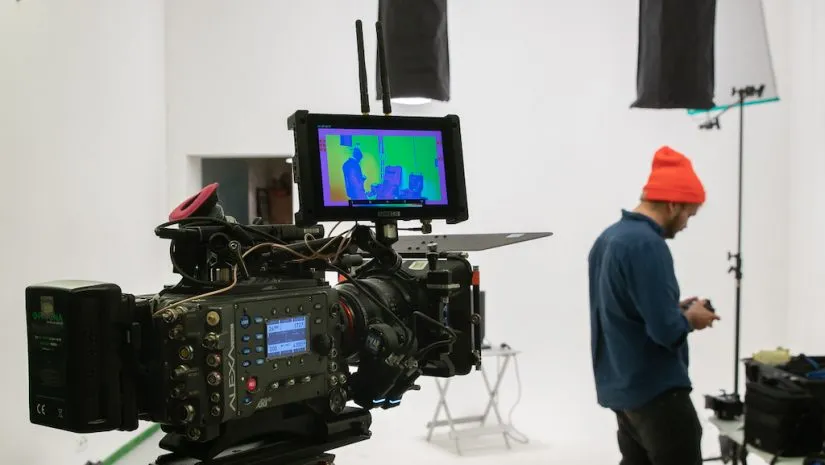
Travel Photography Gears
“Elevate your photography game with our exceptional camera gear, designed to empower your creativity and capture moments with unparalleled precision.”
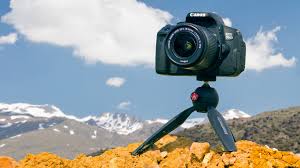
Tripods
“Unearth steadfastness in each capture – our tripods redefine support, ensuring your photography ascends to fresh heights with every frame.”
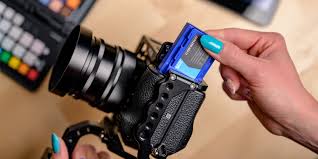
Camera Batteries
“Empower your photography passion with reliable energy – our camera batteries deliver long-lasting power to keep your creativity flowing, frame after frame.”

Camera Filters
“Transform your perspective effortlessly – our camera filters add a touch of artistry. Enhance your old, pixelated, or blurred pictures into high-definition photos.“
About
“Welcome to Prophotogear, your premier destination for top-notch photography equipment. Dive into a world of innovation and excellence as we offer a curated selection of cutting-edge cameras, lenses, lighting solutions, tripods, and accessories. Unleash your creative potential with gear designed to elevate your photography experience. Explore our collection and capture every moment with precision, style, and tched quality. Your photographic journey begins here at .prophotogear”
Location
2020 Lomita Blvd,
Torrance, CA 90101
United States
admin@prophotogear.com
+01-723-456-7878